
In the months (!) that have gone by without posting I've been lucky to have a bunch of new little ones to come into my life, including a niece! Last spring I co-hosted a baby shower for a good friend and in preparation for the shower made these customized blocks for the new baby. My friend knew she was having a girl and had a name ready to go. We decided on a "chick" theme for the shower and I designed the blocks to match the invitations and theme.
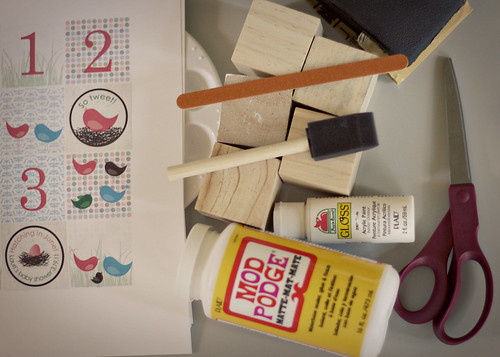
The assembly was really pretty simple and I basically used these directions from Martha Stewart. After giving the 2 inch blocks a good sanding, I painted them white with a basic craft paint. After drying, I mod podged the designs I'd created onto the block. After a couple of layers of modge podge I used the nail file to get rid of any extra paper hanging over the edges of the block.
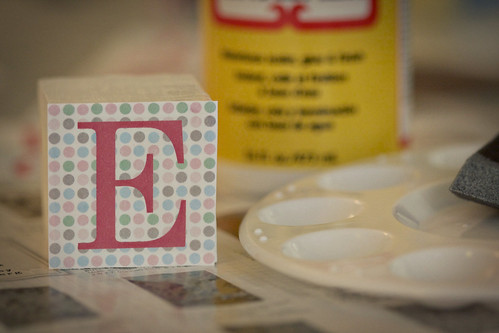
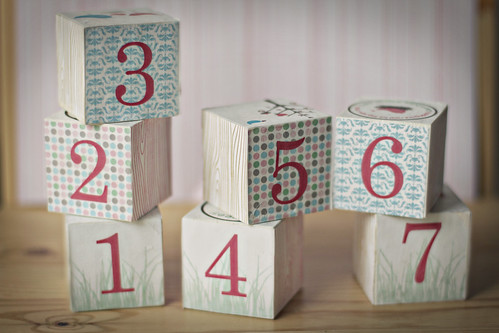
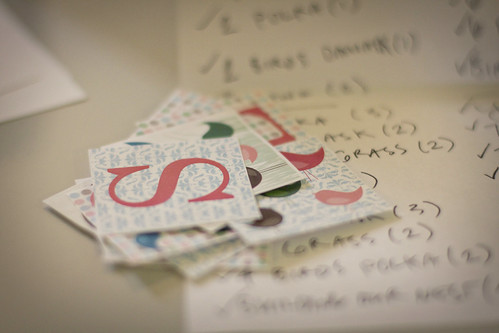
For these blocks I spelled out the baby's name on the "front" side, numbers on the back, the bottom side had a corresponding number of chicks, the sides were faux bois, and the tops were different designs that coordinated with the invitations and other shower decorations. I created the damask, grass and polka backgrounds using Photoshop paintbrushes. In order to keep everything straight and make sure a different background was used on each side of the block, I created a little cheat sheet for myself.
Modge podge is kid safe, but I would still just use these for decorative purposes. In fact, another awesome friend, who happens to be an amazing photographer, used the blocks for the baby's newborn pics. She is also using the blocks for subsequent photo shoots (i.e. for the 3 month photo shoot, they used the "3" block). Check out Forever Mine Photography, Lindsay does great work!